 United States
 Canada
 Europe

 Canada
 Europe



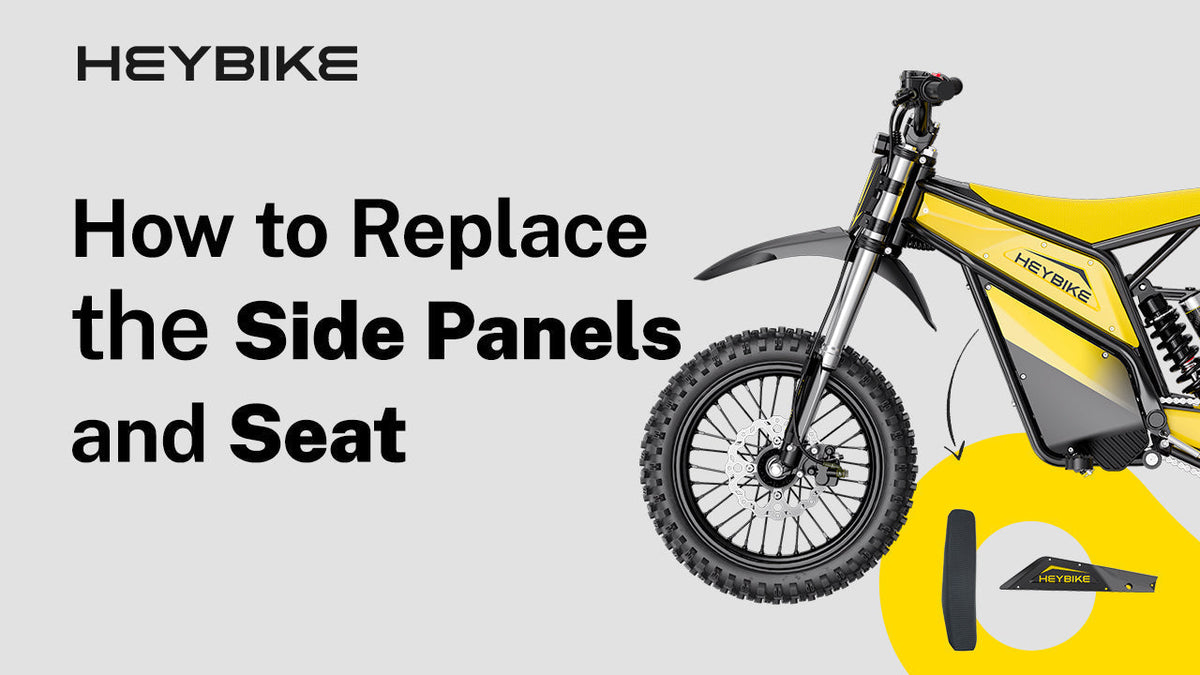
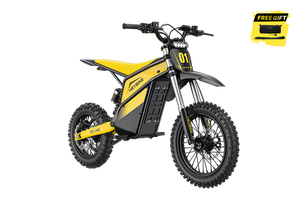
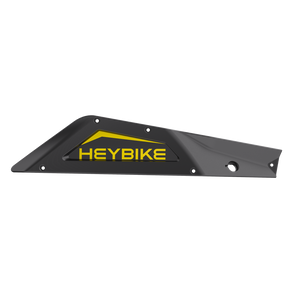
Upgrading your Heybike V1 with a replacement black seat and black upper panels gives the bike a cleaner, darker, more customized look.
This guide follows the official installation order: replace the seat first, then install the black side panels. Work slowly, keep the original fasteners organized, and do not force any part into place.

Watch the Official Installation Video
Before starting, watch the official Heybike V1 seat and side panel installation video:
Use the video as your main visual reference for the exact mounting points, removal order, and final fit. This written guide is meant to help you follow the same process step by step.
Before You Start
Park the bike on a flat, stable surface and turn off the power before removing any parts.
Prepare the replacement black seat, black side panels, original screws or mounting hardware, and the correct tool for removing and tightening the fasteners. Keep all removed hardware in one place so it can be reused during installation.
Do not pull the seat or side panels by force. If a part does not come off easily, stop and check whether a fastener is still holding it in place.
Tools and Parts Needed
- Heybike V1 Electric Dirt Bike
- Heybike V1 Replacement Seat - Black
- Heybike Black Upper Panels (Left & Right)
- Original fasteners or included mounting hardware
- Tool for removing and tightening the fasteners
- Clean workspace
Step-by-Step Installation Guide
Part 1: Replace the Seat
Step 1: Turn Off the Bike
Turn off the bike and place it on a flat, stable surface.
Make sure the bike is steady before working around the seat area. This helps prevent the bike from shifting while you remove or install the seat.
Step 2: Locate the Seat Mounting Points
Find the mounting points that secure the original seat to the frame.
Do not pull the seat upward before the fasteners are loosened. Check the official installation video if you are unsure where the seat is attached.

Step 3: Remove the Original Seat
Loosen and remove the fasteners holding the original seat in place.
Set the screws or mounting hardware aside for reinstallation. After the fasteners are removed, lift the original seat away from the frame carefully.
Step 4: Install the New Black Seat
Place the replacement black seat onto the frame and align it with the mounting points.
Before tightening, check that the seat faces the correct direction and lines up evenly with the frame.
Step 5: Secure the New Seat
Reinstall the fasteners and tighten them evenly.
Make sure the seat sits straight and does not shift forward, backward, or side to side. Do not overtighten, as this may damage the mounting points or hardware.
Step 6: Check the Seat
Press down gently on the seat and check that it is firmly secured.
The seat should feel stable, with no obvious movement. Once the seat is secure, move on to the side panel installation.
Part 2: Replace the Side Panels
Step 1: Locate the Side Panel Mounting Points
After the new seat is installed, locate the mounting points for the original side panels.
Check both sides of the bike and confirm where each panel is fastened before removing anything.
Step 2: Remove the Original Side Panels
Loosen and remove the fasteners holding the original side panels.
Remove each panel carefully. Do not pull, bend, or force the panel off. If it does not release smoothly, check again for any remaining fastener or contact point.

Step 3: Align the New Black Side Panels
Place the new black upper panel on the correct side of the bike.
Align the panel with the frame and mounting holes before tightening anything. The panel should sit naturally against the frame without being forced into position.
Step 4: Lightly Install the Fasteners
Start all fasteners by hand or lightly tighten them first.
Do not fully tighten one fastener before the others are aligned. Keeping the fasteners slightly loose gives you room to adjust the panel position and helps prevent uneven gaps.
Step 5: Adjust the Panel Fit
Check that the side panel sits flush with the frame.
Make sure there is no obvious gap, warping, rubbing, or interference with nearby parts. The panel should follow the bike’s frame line cleanly.

Step 6: Fully Tighten the Side Panel
Once the panel is aligned, tighten the fasteners evenly.
Tighten each fastener gradually until the panel is secure. Do not overtighten, as this may damage the panel or mounting points.
Step 7: Repeat on the Other Side
Install the other black side panel using the same process.
Align the panel first, lightly secure the fasteners, adjust the fit, and then tighten. After both panels are installed, check the bike from both sides to confirm the panels look even and balanced.
Step 8: Final Check
After both the seat and side panels are installed, check that:
- The new seat is firmly secured.
- Both side panels are properly aligned.
- All fasteners are tightened.
- No panel is loose, bent, or rubbing against other parts.
- No cables are pinched or pulled.
- The bike has no abnormal noise when gently moved.
If anything feels loose, misaligned, or unstable, stop and recheck the mounting points before riding.
Step 9: Low-Speed Test
Take a short low-speed test ride in a safe, open area to confirm the seat and side panels stay secure.
During the test, listen for rattling, rubbing, or abnormal noise. Make sure the seat does not shift and the side panels do not interfere with any moving parts.
Installation Notes
Follow these tips for a cleaner installation:
- Keep all original fasteners organized during removal.
- Do not force the seat or panels into place.
- Start all fasteners before fully tightening any one of them.
- Check alignment before final tightening.
- Do not overtighten the fasteners.
- Confirm that no cables are pinched or pulled before riding.
See the Upgrade in Real Rider Videos
You can also review rider installation and showcase videos to see the finished look:
These rider videos can help you understand the final appearance, but the official Heybike installation video should remain your main reference for installation order, mounting points, and part placement.
FAQ
Can I replace the Heybike V1 seat and side panels myself?
Yes. Follow the official installation video and the step-by-step order in this guide. Make sure the bike is powered off and stable before starting.
Do I need to fully tighten each fastener right away?
No. Lightly install all fasteners first, check the alignment, and then tighten them evenly. This helps prevent misalignment, uneven gaps, or panel stress.
Can I reuse the original screws and mounting hardware?
In most cases, you can reuse the original fasteners or use the included mounting hardware if provided. Keep all removed screws organized during installation so nothing gets lost.
What should I check after installation?
Check that the seat is secure, both side panels are aligned, all fasteners are tightened, no cables are pinched, and no parts are rubbing or making abnormal noise.
Should I test ride the bike after installation?
Yes. Take a short low-speed test ride in a safe area to confirm the seat and side panels stay secure and do not rattle, shift, or interfere with riding.
Share:
How to Install the Tail Light with Turn Signals