 United States
 Canada
 Europe

 Canada
 Europe


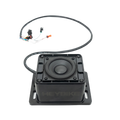
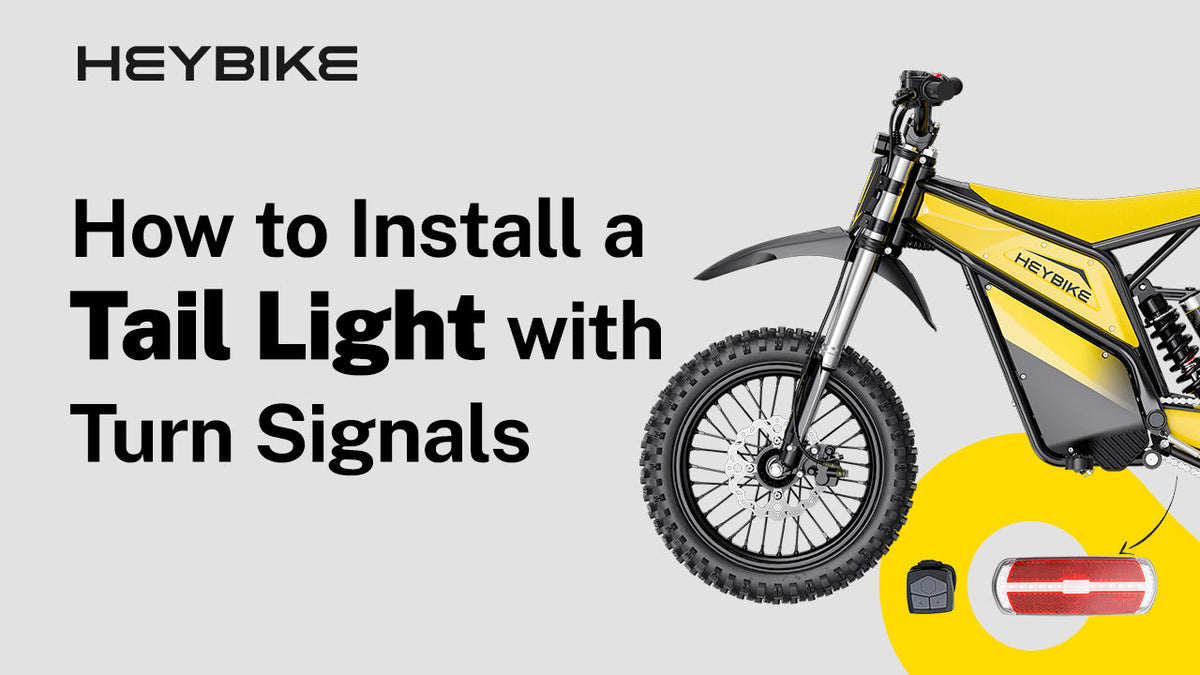
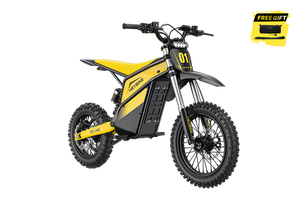
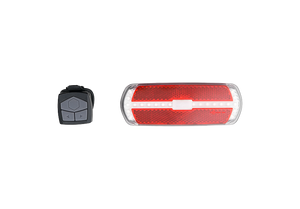
This guide explains how to install the Tail Light with Turn Signals on the Heybike Villain. It covers the rear mounting position, tail light bracket, rechargeable tail light body, handlebar remote, light mode test, turn signal test, and low-speed test ride before normal riding.
A correct installation should meet three basic checks: the tail light faces the rear clearly, the bracket and remote stay secure, and the light responds correctly to the remote. Do not start normal riding until the steady light, flashing mode, and left and right turn signals have been tested.
Watch the Official Installation Video
Before installing the Heybike Villain Tail Light, watch the official installation video. Use it to confirm the rear mounting position, bracket direction, tail light placement, remote position, and function test before you start.
Use the written steps below as an installation checklist while following the video. The video is especially useful for checking details that are easier to understand visually, such as how the bracket sits, how the tail light attaches to the bracket, and where the remote should be placed on the handlebar.
Before You Start
Turn off the Heybike Villain before installing the tail light. Place the bike on a flat, stable surface so it does not move while you work around the rear mounting area or handlebar.
Check the rear mounting area before attaching the bracket. The tail light should not touch the rear wheel, interfere with the seat or rear fender, or be blocked by other bike parts after installation. It should remain clearly visible from behind.
Do not fully tighten the bracket until you confirm its angle and direction. If the bracket is installed at the wrong angle, the tail light may sit crooked, point downward, or face away from the rear of the bike.
Tools and Parts Needed
Prepare these parts and tools before starting:
- Rechargeable tail light with turn signals
- Remote control
- Mounting bracket
- Screws
- Required tool for tightening the screws
- Clean work area
Check that the tail light, remote control, bracket, and screws are included before installation. If any mounting part is missing, do not force the tail light onto the bike or use an unconfirmed substitute.
If you are installing a new tail light, make sure it is the correct Tail Light with Turn Signals for Heybike Villain before starting.
Step-by-Step Tail Light Installation Guide
Follow the steps in order. This installation has two main parts: the rear tail light and the handlebar remote. Both must be fixed securely and tested before riding.
Do not fully tighten the bracket until the tail light position and angle are correct. After the tail light and remote are installed, test the steady light, flashing mode, and turn signals before normal riding.
Step 1: Turn Off the Bike and Prepare the Tools
Turn off the Villain before starting. Place the bike in a stable position and prepare the rechargeable tail light, remote control, mounting bracket, screws, and required tool.
Do not install the tail light while the bike is unstable or moving. A steady setup makes it easier to align the bracket, tighten the screws, and check the final tail light direction.
Step 2: Confirm the Tail Light Mounting Position
Find the rear mounting area for the tail light. It is usually near the back of the seat or rear fender area.
Before attaching the bracket, check that the tail light will not touch the rear wheel, interfere with the seat, or sit behind a blocked area. The light should face the rear so riders or vehicles behind the bike can see the signal clearly.
Step 3: Install the Tail Light Bracket
Align the tail light bracket with the rear mounting holes. Insert the screws and tighten them lightly first.
Do not fully tighten one side before checking the bracket angle. Confirm that the bracket is centered and facing the correct direction, then tighten the screws securely.
A crooked bracket can make the tail light point downward, sideways, or away from the rear of the bike. Recheck the angle before moving to the next step.
Step 4: Attach the Tail Light Body
Attach the rechargeable tail light to the bracket. Make sure the light faces the rear of the bike and sits level.
After attaching the tail light, gently move it by hand. It should stay in place without shifting, rattling, or tilting. If it moves, recheck the bracket and tail light connection before continuing.
Step 5: Install the Remote Control
Install the remote control on the handlebar where it is easy to reach while riding. It should be close enough for natural finger access, but it should not block the brake lever, throttle, display, or other control buttons.
After placing the remote, sit on the bike or stand in a riding position and test the reach. If the remote is too far away, angled poorly, or too close to another control, it may be difficult to use the turn signals while riding.
Step 6: Turn On the Tail Light and Test the Functions
Turn on the tail light and test each function before riding. Check the steady light mode, flashing mode, and turn signal function.
Press the remote buttons and confirm that the tail light responds correctly. Test the left and right turn signals separately. Each signal should match the direction selected on the remote.
If the light does not turn on or the turn signals do not respond, stop and recheck the power, remote position, and product instructions before riding.
Step 7: Check Installation Stability
Check the tail light, bracket, and remote control before riding. The tail light should be secure, the bracket should not wobble, and the remote should stay fixed on the handlebar.
Check the tail light from behind the bike. It should be clearly visible and should not be blocked by the seat, rear fender, bag, clothing, or rider gear.
If the tail light points too low, sits crooked, or feels loose, adjust it before riding.
Step 8: Perform a Low-Speed Test Ride
After installation and function testing, start with a short low-speed test ride in a controlled area. Do not go straight into normal riding.
During the test ride, check whether the tail light stays stable, whether the remote is easy to operate, and whether the turn signals respond while the bike is moving slowly.
Stop riding if the tail light shakes, the bracket moves, the remote is hard to reach, or the light does not respond normally. Recheck the installation before riding again.
Key Installation Notes
The most common installation issues are loose mounting, poor tail light angle, blocked visibility, and remote placement that is difficult to use while riding.
Check the following before riding:
- Do not ride if the tail light feels loose.
- Make sure the tail light faces the rear of the bike.
- Make sure the light is not blocked by the seat, fender, bag, or rider gear.
- Install the remote where it is easy to reach.
- Make sure the remote does not interfere with braking, throttle control, or other buttons.
- Test steady light, flashing mode, and turn signals before riding.
- Recheck the bracket and remote after a short low-speed test ride.
Troubleshooting: Tail Light, Turn Signals, and Mounting Issues
If the tail light does not turn on, the turn signals do not respond, or the tail light feels loose, do not continue riding. Check the power, remote control, bracket, and tail light mounting first.
Do not create custom wiring changes or use unconfirmed fixes. This guide is for installing and testing the Tail Light with Turn Signals for Heybike Villain based on the official installation process.
If the Tail Light Does Not Turn On
Check whether the tail light is charged and turned on. If it still does not turn on, confirm that you are using the correct power button operation shown in the official video or product instructions.
If the tail light appears to have low battery, charge it before testing again.
If the Turn Signals Do Not Respond
First, make sure the tail light is turned on. Then check the remote control position and confirm that the buttons are easy to press.
Test the left and right turn signal buttons separately. If either signal does not respond, check the battery level and review the official video or product instructions.
If the product instructions require pairing, follow the official pairing process. Do not use an unconfirmed pairing method.
If the Tail Light Feels Loose
Check whether the bracket is aligned with the mounting holes and whether the screws are tightened. Then check whether the tail light body is fully attached to the bracket.
If the tail light still moves, remove it carefully and reinstall the bracket and tail light body. Do not ride while the tail light feels loose.
Final Safety Check
Before normal riding, complete this final check:
- Tail light is securely attached.
- Bracket is tightened.
- Remote control is fixed on the handlebar.
- Remote does not block the brake, throttle, or other controls.
- Tail light faces the rear clearly.
- Steady light works.
- Flashing mode works.
- Left and right turn signals respond correctly.
- Tail light does not move during a low-speed test ride.
If the tail light still does not turn on or the turn signals do not respond after these checks, stop using it and contact Heybike Sports support.
FAQ
Is this tail light installation guide for the Heybike Villain?
Yes. This guide is for installing the Tail Light with Turn Signals on the Heybike Villain. Do not apply the same steps to another model unless compatibility is confirmed.
Is this tail light rechargeable?
Yes. This guide is for the rechargeable tail light with turn signals. Charge the tail light before use if the battery is low.
Does this tail light include turn signals?
Yes. This tail light includes turn signal functions. Test both left and right signals before riding.
Where should I install the remote control?
Install the remote control on the handlebar where it is easy to reach while riding. It should not interfere with the brake, throttle, display, or other control buttons.
Should I test the tail light before riding?
Yes. Test the steady light, flashing mode, and turn signals before riding. Also check that the tail light, bracket, and remote control are secure.
Do I need professional help to install the tail light?
If you are comfortable following the official video and handling the mounting parts, you may be able to install it yourself. If the tail light feels loose, the remote does not respond, or the light does not work after these checks, contact Heybike Sports support or a qualified technician.
Share:
How to Install the Battery for Heybike Elecrtic Dirt Bike