 United States
 Canada
 Europe

 Canada
 Europe



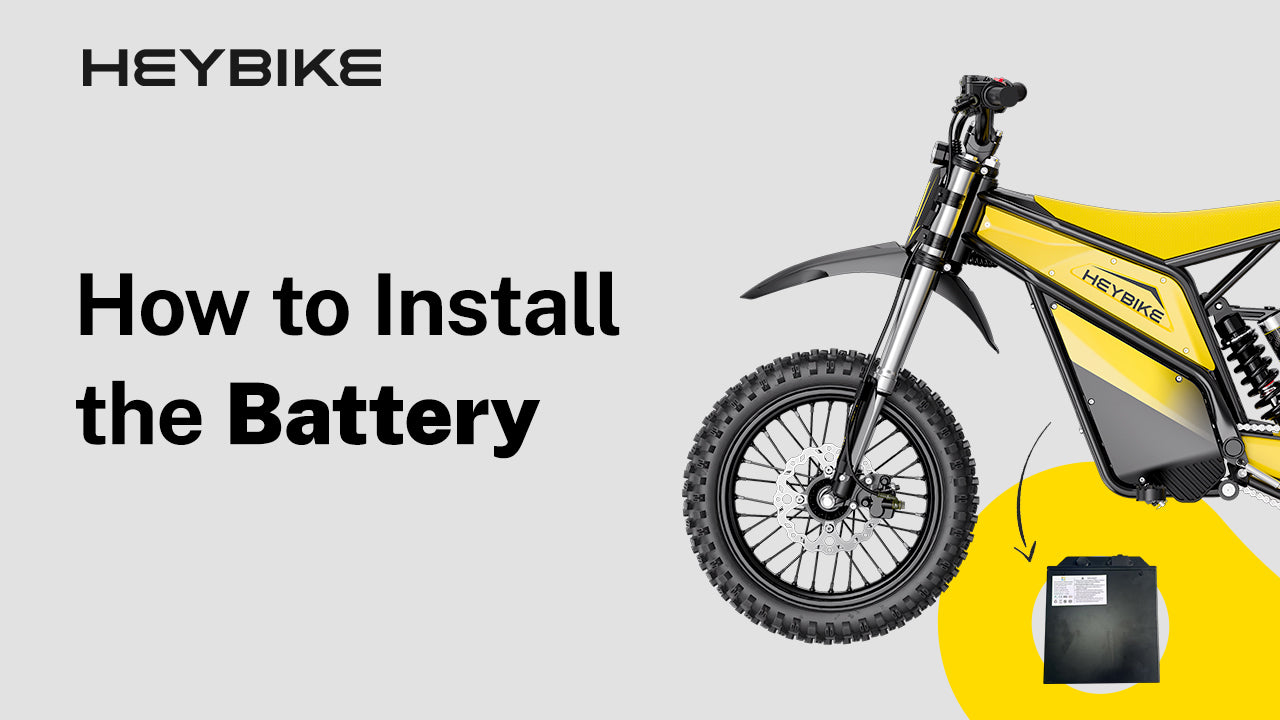

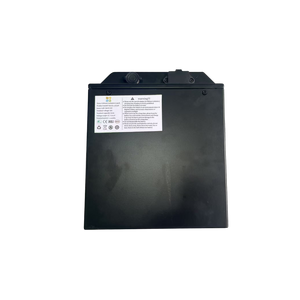
Installing the battery on the Heybike Villain is a simple process when you follow the correct order. This guide walks you through the full battery installation process, including how to prepare the bike, connect the power cable, place the battery into the compartment, secure the battery cover, and check the bike before riding.
The most important step is to connect the power cable before placing the battery into the battery compartment. Do not force the battery into place. Do not ride if the battery feels loose, the cover does not sit correctly, or the bike does not power on normally.
Watch the Official Battery Installation Video
Before installing the battery, watch the official Heybike Villain battery installation video. Use it to confirm the battery area, cable position, battery direction, and cover placement.
This written guide should be used alongside the official video. The video is especially helpful for checking visual details such as the connector position, battery direction, and cover alignment.
Before You Start
Place the Heybike Villain on a flat, stable surface. Turn the bike off before opening the battery area or handling the power cable.
Keep screws, covers, and removed parts together so they are easy to reinstall. If any cover or part does not come off smoothly, stop and check for screws or fasteners that may still be attached.
Tools and Parts Needed
Prepare these items before starting:
- Heybike Villain
- Heybike Villain battery
- Tool required to remove and tighten factory bolts
Use the tool required to remove and tighten the factory bolts. Check the official installation video before starting if the tool type is unclear.
If you are installing a replacement battery, make sure it is the correct battery for the Heybike Villain before starting.
Step-by-Step Battery Installation Guide
Follow the steps in order. The cable connection and battery placement sequence matters for this installation.
Step 1: Turn Off the Bike and Prepare for Installation
Make sure the bike is powered off before starting. Do not open the battery area or handle the power cable while the bike is powered on.
Place the bike in a stable position and prepare a clean area for screws and removed parts. This helps prevent missing hardware during reinstallation.
Step 2: Open the Battery Installation Area
Open the battery installation area to access the battery compartment and power cable. Keep the removed cover, screws, or fasteners together.
Do not force open any cover or panel. If the battery area does not open smoothly, check whether a screw, clip, or fastener is still attached.
Step 3: Check the Battery, Power Cable, and Battery Compartment
Before placing the battery into the bike, check the battery, power cable, and compartment.
Make sure the power cable is accessible and not trapped under another part. The battery compartment should be clean, clear, and free of loose screws, packaging material, or cable obstruction.
If anything blocks the battery from sitting flat, remove it before continuing.
Step 4: Connect the Power Cable
Connect the power cable before placing the battery into the battery compartment.
Make sure the connector is fully seated. If the connector does not line up smoothly, do not force it. Recheck the connector direction before trying again.

A loose or incorrect connection may prevent the bike from powering on after installation.
Step 5: Place the Battery Into the Battery Compartment
After the power cable is connected, place the battery into the battery compartment in the correct direction.
Make sure the battery sits flat inside the compartment. Check that the cable is not blocking the battery or being pressed underneath it. If the battery does not sit flat, remove it carefully and check the cable position again. Do not push the battery down by force.
Step 6: Secure the Battery Cover
Once the battery sits flat, place the battery cover back into position.
Before tightening the screws, check that the cover is aligned and no cable is trapped underneath. Tighten the screws evenly. If the cover does not sit correctly, stop and recheck the battery position and cable routing before tightening.
Step 7: Power On and Check
After the battery cover is secured, power on the bike and check whether the system starts normally.
Check the display, power status, or other normal startup indicators. If the bike does not power on, turn it off and recheck the power cable connection before riding.
Do not ride the bike if it does not power on normally or if the battery area feels loose, misaligned, or abnormal.
Step 8: Perform a Low-Speed Test
After the bike powers on normally, perform a short low-speed test in a safe, open area.
Start slowly. Check whether the bike runs normally, whether the battery area stays secure, and whether the bike loses power during the test. Listen for unusual sounds near the battery area.
Stop riding if anything feels abnormal. Recheck the installation before riding again.
Key Installation Notes
The most common installation risks are wrong cable order, incorrect battery direction, pinched cable, and an uneven battery cover.
Check the following before riding:
- Connect the power cable before placing the battery into the compartment.
- Do not force the battery into the compartment.
- Make sure the battery sits flat before securing the cover.
- Do not pinch the cable under the battery or cover.
- Align the battery cover before tightening the screws.
- Do not ride if the battery feels loose.
- Do not ride if the bike does not power on normally.
If the battery does not fit correctly or the bike does not power on after installation, stop and contact Heybike Sports support.
What to Check If the Battery Does Not Fit or Power On
If the battery does not sit flat, the cover does not align, or the bike does not power on, stop before riding. Check the battery direction, cable position, connector, and cover alignment first.
If the Battery Does Not Sit Flat
Check whether the battery is facing the correct direction. Then check whether the power cable is blocking the compartment or sitting underneath the battery.
Look inside the compartment for loose screws, packaging material, or any cable that may prevent the battery from sitting flat.
Do not force the battery down, and do not force the cover closed.
If the Bike Does Not Power On
Turn the bike off and recheck the power cable connection. Make sure the connector is fully seated and facing the correct direction.
Then check whether the battery is seated properly and whether the cover or cable is misaligned. If the bike still does not power on, contact Heybike Sports support before riding.
If the Battery Feels Loose
Stop riding and check the battery area again.
Make sure the battery sits flat, the cover is aligned, and the screws are tightened. If the battery still feels loose after these checks, do not continue riding.
Final Power and Safety Check
Before normal riding, complete this final check:
- The battery sits flat.
- The battery cover is secured.
- The screws are tightened.
- The power cable is connected.
- The cable is not pinched.
- The bike powers on normally.
- The display or power status looks normal.
- There is no unusual sound from the battery area.
- The bike runs normally during the low-speed test.
If any check fails, stop and recheck the installation. Contact Heybike Sports support if the issue continues.
FAQ
Is this battery installation guide for the Heybike Villain?
Yes. This guide is for installing the battery on the Heybike Villain. Do not use these steps for another model unless Heybike Sports confirms that the installation process is the same.
Do I need to connect the power cable before placing the battery in the compartment?
Yes. Based on the intended installation sequence, connect the power cable before placing the battery into the battery compartment.
If the official installation video shows a specific order, follow the official video.
What should I do if the battery does not sit flat?
Do not force it into place. Remove the battery carefully and check the battery direction, cable position, and battery compartment. The cable may be blocking the battery or sitting in the wrong position.
If the battery still does not sit flat, contact Heybike Sports support.
What should I check before powering on the bike?
Before powering on the bike, check that the battery sits flat, the power cable is connected, the cover is aligned, the screws are tightened, and no cable is pinched under the cover.
Should I test the bike after installing the battery?
Yes. After the bike powers on normally, complete a short low-speed test in a safe, open area. Check whether the bike runs normally, whether the battery area stays secure, and whether there are unusual sounds or power interruptions.
Do I need professional help to install the battery?
If you are comfortable following the official video and handling the battery area carefully, you may be able to complete the installation yourself. If the battery does not fit, the cable does not connect smoothly, or the bike does not power on, stop and contact Heybike Sports support or a qualified technician.
Share:
How to Install Supermoto Tires
How to Install the Tail Light with Turn Signals