 United States
 Canada
 Europe

 Canada
 Europe


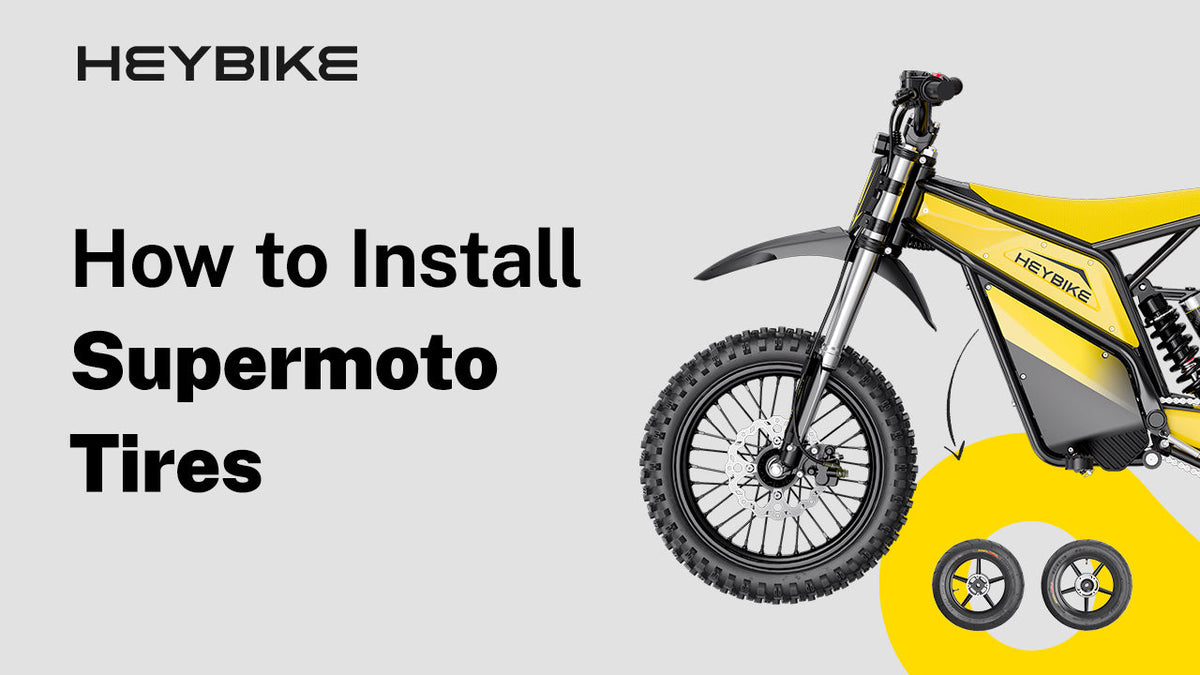
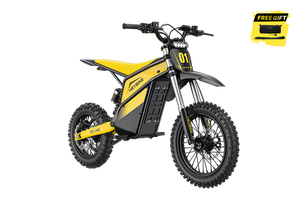
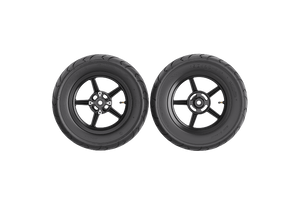
Switching your Heybike Villain from the original off-road tires to the Supermoto Tire Set gives the bike a smoother, more stable feel on compact, controlled riding surfaces. This guide walks you through the full conversion, including front wheel removal, brake disc transfer, rear sprocket transfer, rear brake disc transfer, chain adjustment, and final safety checks.
Before starting, watch the official installation video and review the full process below. This installation involves wheel axles, brake discs, sprocket bolts, chain tension, and wheel alignment. If any part feels loose, misaligned, or difficult to install, stop and recheck the setup before riding.
Watch Before Installation
Official Installation Video
Watch the official Heybike Villain Supermoto Tire installation video before starting. Use it as the main visual reference for wheel removal, brake disc transfer, rear sprocket transfer, and chain adjustment.
Rider Video References
You can also review these rider videos for additional visual reference. The official video should be treated as the primary installation reference, while rider videos can help you understand the final look and general installation flow.
What You Need Before You Start
Turn off the Heybike Villain and remove the magnetic safety switch before working on the bike. This helps prevent accidental startup during installation.
Place the bike on level ground and support it with a stable stand so both wheels are off the ground. The bike should stay secure while the wheels are removed.
Prepare these tools and supplies:
- Wrench or socket tool
- Allen key set
- Threadlocker for brake disc and sprocket bolts
- Small tray for nuts, washers, spacers, and axle parts
- Clean work surface
- Stable bike stand
Keep all removed hardware organized by wheel position. Washers, spacers, axle parts, and chain adjusters should be reinstalled in the same order and direction.
Important: Do not press the brake levers when a wheel is removed. This may cause the brake pads to close and make wheel installation harder.
Installation Steps
Step 1: Remove the Original Front Wheel
Loosen the axle nuts on both sides of the front wheel.
Slowly slide out the front axle. Keep the washers, spacers, and nuts in order so they can be reinstalled correctly.
Remove the original front wheel from the fork. Let the front brake disc slide out of the brake caliper smoothly. Do not twist the wheel or force the disc against the caliper.
Place the original front wheel on a clean, stable surface. Do not press the front brake lever while the wheel is removed.
Step 2: Move the Front Brake Disc to the Supermoto Front Wheel
Remove the front brake disc bolts from the original front wheel.
Loosen the bolts gradually, working around the disc instead of removing one bolt completely before the others. This helps prevent uneven pressure on the brake disc.
Place the original front brake disc onto the Supermoto front wheel and align it with the mounting holes.
Apply a small amount of threadlocker to the brake disc bolts before installation.
Start all bolts by hand first. Do not fully tighten one bolt before the others are seated. Once the disc sits flat against the hub, tighten the bolts evenly in sequence or in a cross pattern.
Check that the front brake disc is flat, centered, and fully seated before installing the wheel.
Step 3: Install the Supermoto Front Wheel
Place the Supermoto front wheel into the front fork.
Guide the brake disc into the center of the brake caliper. Do not force it between the brake pads.
Slide the front axle back into place. Reinstall the washers, spacers, and axle nuts in the same order they were removed.
Center the wheel in the fork, then tighten the axle nuts securely.
Spin the front wheel by hand. It should rotate smoothly without heavy drag, wobble, or obvious brake rub.
Lightly squeeze the front brake lever to confirm the brake engages and releases normally.
Step 4: Remove the Original Rear Wheel
Loosen the rear axle nuts on both sides.
Loosen the chain adjuster screws so the rear wheel can move forward. This releases chain tension and makes the chain easier to remove.
Remove the chain from the rear sprocket and set it aside carefully. Do not twist, pull, or jam the chain.
Support the rear wheel while sliding out the rear axle. Keep the washers, spacers, chain adjusters, and nuts organized in removal order.
Remove the original rear wheel from the swingarm. Let the rear brake disc slide out of the rear brake caliper smoothly. Do not pull the wheel out at an angle.
Place the original rear wheel on a stable work surface.
Step 5: Move the Rear Sprocket to the Supermoto Rear Wheel
Remove the rear sprocket bolts from the original rear wheel.
Loosen the bolts gradually and evenly. Remove the sprocket and place it onto the Supermoto rear wheel.
Align the sprocket with the mounting holes.
Apply a small amount of threadlocker to the sprocket bolts before installation.
Start all bolts by hand first. Confirm that the sprocket sits flat against the hub, then tighten the bolts evenly in sequence or in a cross pattern.
Check that the sprocket is fully seated and that no bolt is loose, missing, or cross-threaded.
Step 6: Move the Rear Brake Disc to the Supermoto Rear Wheel
Remove the rear brake disc bolts from the original rear wheel.
Loosen the bolts gradually to avoid uneven pressure on the disc.
Place the rear brake disc onto the Supermoto rear wheel and align it with the mounting holes.
Apply a small amount of threadlocker to the brake disc bolts before installation.
Start all bolts by hand first. Confirm the disc direction and position, then tighten the bolts evenly in sequence or in a cross pattern.
After installation, check that both the rear sprocket and rear brake disc sit flat against the hub.
Step 7: Install the Supermoto Rear Wheel
Place the Supermoto rear wheel into the swingarm.
Guide the rear brake disc into the center of the brake caliper. At the same time, align the rear sprocket with the chain line.
Slide the rear axle back into place. Reinstall the washers, spacers, chain adjusters, and axle nuts in the same order they were removed.
Do not fully tighten the rear axle nuts yet. Leave room for chain tension adjustment.
Place the chain back onto the rear sprocket. Make sure the chain sits correctly on the sprocket teeth and is not twisted, offset, or caught on the edge.
Step 8: Adjust Chain Tension
Use the chain adjuster screws on both sides of the rear wheel to set the chain tension.
The chain should not be too loose. A loose chain may skip, slap, or come off the sprocket.
The chain should not be too tight. An overly tight chain can increase drivetrain resistance and wear the chain and sprocket faster.
Adjust both sides evenly so the rear wheel stays centered in the swingarm. If one side is pulled farther back than the other, the wheel may sit crooked, which can cause chain wear, tracking issues, or brake rub.
Once the chain tension is correct and the wheel is centered, tighten the rear axle nuts securely.
Spin the rear wheel by hand. Check that the chain runs smoothly and that the rear brake disc does not show heavy rubbing, wobble, or abnormal noise.
Step 9: Complete the Full Safety Check
Before riding, check every part involved in the installation:
- Front axle nuts
- Rear axle nuts
- Front brake disc bolts
- Rear brake disc bolts
- Rear sprocket bolts
- Chain tension
- Front and rear wheel alignment
- Front and rear brake function
Spin both wheels by hand. They should rotate smoothly without heavy drag, wobble, or unusual sound.
Test the front and rear brakes separately. Each brake should engage and release normally.
If you hear scraping, clicking, chain noise, or heavy brake rub, stop and recheck the installation before riding.
Step 10: Start With a Low-Speed Test Ride
After installation, start with a short low-speed test ride in a controlled area.
Check:
- Steering feel
- Brake response
- Acceleration
- Chain movement
- Wheel stability
- Tire alignment
- Unusual sound or vibration
Do not continue into longer riding until the bike feels stable, quiet, and properly aligned.
After the first short ride, inspect the bike again. Recheck the axle nuts, brake disc bolts, rear sprocket bolts, and chain tension.
If anything feels loose, unstable, noisy, or misaligned, stop riding and inspect the installation again.
FAQ: Heybike Villain Supermoto Tire Installation
Do I need to transfer the original brake discs?
Yes. The front and rear brake discs from the original wheels need to be transferred to the Supermoto wheels. Apply threadlocker to the brake disc bolts and tighten them evenly.
Do I need to transfer the rear sprocket?
Yes. The rear sprocket from the original rear wheel needs to be installed on the Supermoto rear wheel. After installation, make sure the chain lines up correctly with the sprocket.
Should I use threadlocker?
Yes. Use threadlocker on the brake disc bolts and rear sprocket bolts. This helps reduce the risk of bolts loosening from riding vibration.
Why should I tighten the bolts evenly?
Even tightening helps the brake disc or sprocket sit flat against the hub. Fully tightening one bolt before the others are seated may create uneven pressure.
What should I check after installing the rear wheel?
Check chain tension, wheel alignment, rear brake disc position, axle nut tightness, and whether the chain runs smoothly on the sprocket.
Can I ride right after installation?
Start with a short low-speed test ride in a controlled area. Check braking, steering, chain movement, wheel stability, and any unusual noise before continuing.
What should I do if the brake disc rubs?
Stop riding and recheck wheel alignment, brake disc position, axle installation, and caliper clearance. Do not continue riding if the brake rub is heavy or the wheel does not spin smoothly.
Share:
How to Install the Bluetooth Speaker
How to Install the Battery for Heybike Elecrtic Dirt Bike