 United States
 Canada
 Europe

 Canada
 Europe


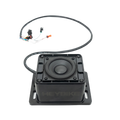


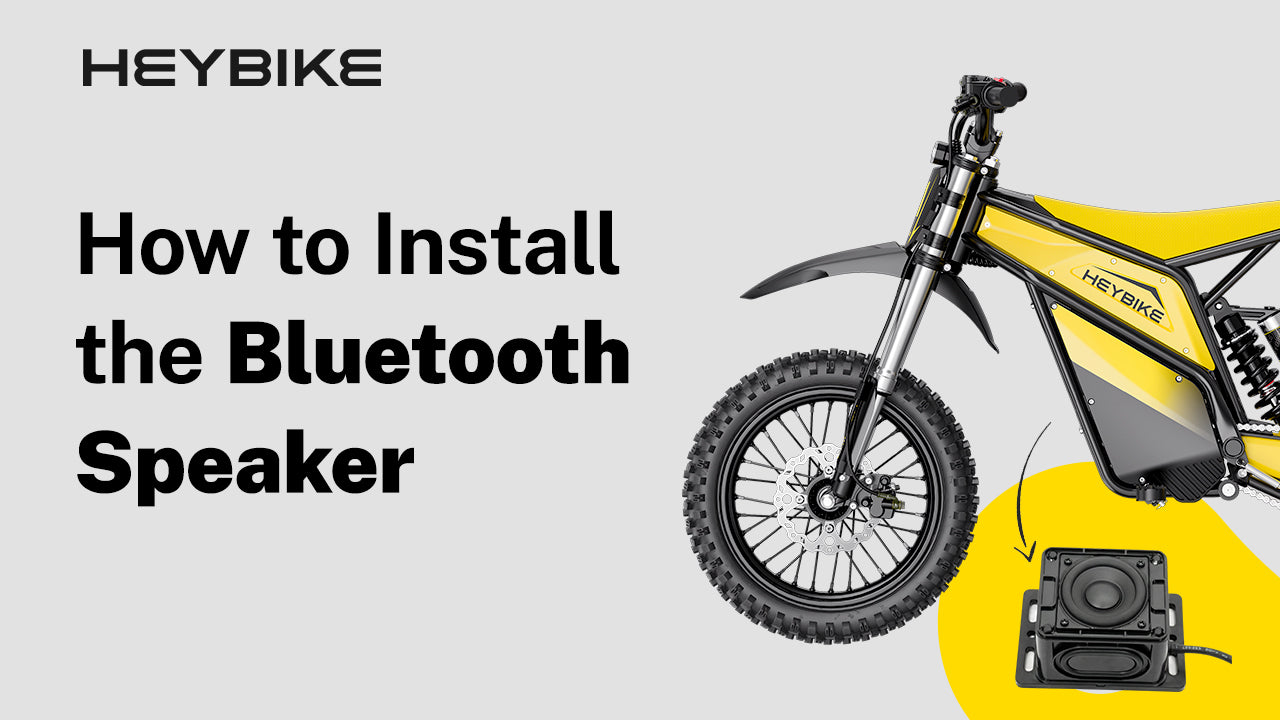
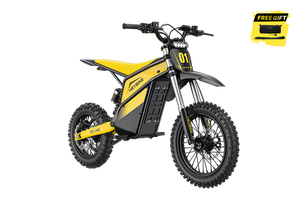
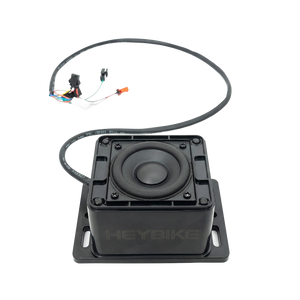
This guide shows how to install the Heybike Villain Bluetooth Speaker using the official installation sequence. It covers what to check before starting, how to remove and reinstall key parts, how to route and connect the speaker cable, and what to inspect before your first ride.
Watch the Official Installation Video
Watch the official installation video before removing any parts from the bike. Use it as the main reference for the installation order, panel removal, cable routing, and connector placement.
Before You Start
Park the bike on a flat, stable surface. Turn the bike off before removing panels, the battery, or any connected parts.
Check that you have the Bluetooth speaker, speaker control panel, bolt or screw set, and the required tool before starting.
Tools and Parts Needed
Prepare the following items:
- Heybike Villain Bluetooth Speaker
- Speaker control panel
- Bolt / screw set
- Tool for removing and tightening bolts
- Clean workspace
- Heybike Villain
Use the tool required to remove and tighten the factory bolts. Check the official installation video before starting.
Step-by-Step Installation Guide
Step 1: Remove the Side Panels
Remove the side panels to access the speaker mounting area and cable routing path.
Do not pull the panels by force. If a panel does not come off smoothly, check for screws or clips that may still be attached.

Step 2: Remove the Battery
Remove the battery before working inside the frame. This gives you more space and helps avoid working around a powered system.
Step 3: Remove the Throttle
Remove the throttle so the speaker control panel can slide into the correct position.
Keep the throttle and its hardware organized. You will reinstall it after the speaker control panel is in place.
Step 4: Slide in the Speaker Control Panel
Slide the speaker control panel into position. Make sure it sits flat and aligns correctly before reinstalling the throttle.

Do not force the panel into place if the alignment feels off. Recheck the position first.
Step 5: Reinstall the Throttle
Reinstall the throttle after the speaker control panel is positioned.
Before tightening it fully, check that the throttle sits naturally and has enough clearance for normal use.
Step 6: Place the Speaker in the Frame
Place the speaker into the open space at the bottom of the frame.
The speaker cable should face the rear of the bike. This helps the cable follow the correct routing path toward the connectors.

Step 7: Tighten the Bolts
Tighten the bolts evenly to secure the speaker.
Do not overtighten the bolts. Do not ride the bike if the speaker moves, rattles, or feels loose after mounting.
Step 8: Route and Secure the Speaker Cable
Route the speaker cable along the intended path and secure it neatly.
Before closing the panels, make sure the cable is not pinched, stretched, hanging loose, or positioned near moving parts.

Use the wiring reference image above to identify the four connectors before plugging them in.
Before connection, locate these four connectors:
- Ebike harness connector
- Control panel connector
- Speaker black connector
- Speaker white connector
Then make the two wiring connections:
- Connect the speaker black connector to the ebike harness connector.
- Connect the speaker white connector to the control panel connector.
After connection, both connector pairs should be fully seated and secure. Do not force any connector into place. If a connector does not line up smoothly, recheck the connector shape, direction, and matching pair before trying again.


Step 9: Reinstall the Side Panels
Reinstall the side panels after the speaker and cables are in place.
Before tightening the panels, check that no cables are trapped underneath.
Step 10: Reinstall the Battery
Reinstall the battery and make sure it is seated properly.
If the battery does not sit correctly, stop and recheck the cable routing and panel position before continuing.
Step 11: Connect Bluetooth and Test the Speaker
After the speaker, cables, battery, and panels are installed, turn on the bike and enable Bluetooth on your phone.
Find the speaker in your Bluetooth settings and connect to it. Play audio at a low volume first to confirm it works normally.
Check that the sound is clear and that the speaker does not rattle, vibrate loosely, or make abnormal noise. If it does not connect or play properly, stop and recheck the wiring connectors, cable routing, and speaker mounting before riding.
Installation Notes
Pay close attention to cable direction and connector matching.
The speaker should sit at the bottom of the frame with the cable facing the rear of the bike. The white speaker connector connects to the black control panel connector. The black speaker connector connects to the black controller connector.
Do not force any connector into place. If a connector does not fit, recheck the connector type, direction, and alignment.
Before reinstalling the panels, inspect the cable path again. The cable should not be crushed, stretched, exposed, or placed where it could interfere with riding.
Final Safety Check
Before riding, check the following:
- The speaker is firmly secured.
- The bolts are tightened.
- The speaker cable is routed cleanly.
- The connectors are fully connected.
- The side panels are reinstalled correctly.
- The battery is seated properly.
- The front panel is secure.
- The throttle works normally.
- No cable blocks the throttle, brake levers, display, or steering movement.
If anything feels loose, misaligned, or abnormal, do not ride the bike. Recheck the installation or contact Heybike Sports support.
See the Bluetooth Speaker in Real Rider Videos
After installation, you can also watch rider videos to see how the Heybike Villain Bluetooth Speaker looks on the bike in real use. These videos are not a replacement for the official installation guide, but they can help you understand the finished setup from a rider’s perspective.
YouTube Rider Video
TikTok Rider Video
Watch the rider video on TikTok
Shop the Heybike Villain Bluetooth Speaker
Need the matching part for this installation? Check the Heybike Villain Bluetooth Speaker page before ordering.
FAQ
Is this installation guide for the Heybike Villain?
Yes. This guide is for installing the Heybike Villain Bluetooth Speaker on the Heybike Villain.
Can I install the Bluetooth speaker myself?
This guide follows the official installation sequence. If you are not comfortable removing panels, handling connectors, or reinstalling the throttle, ask a qualified technician or contact Heybike Sports support.
What should I do if the connectors do not fit?
Stop and recheck the connector type and direction. The white speaker connector should connect to the black control panel connector, and the black speaker connector should connect to the black controller connector. Do not force any connector into place.
What should I check before the first ride?
Check that the speaker is secure, the cable is routed correctly, all panels are reinstalled, the battery is seated properly, and the throttle works normally.
Share:
How to Install Supermoto Tires