 United States
 Canada
 Europe

 Canada
 Europe



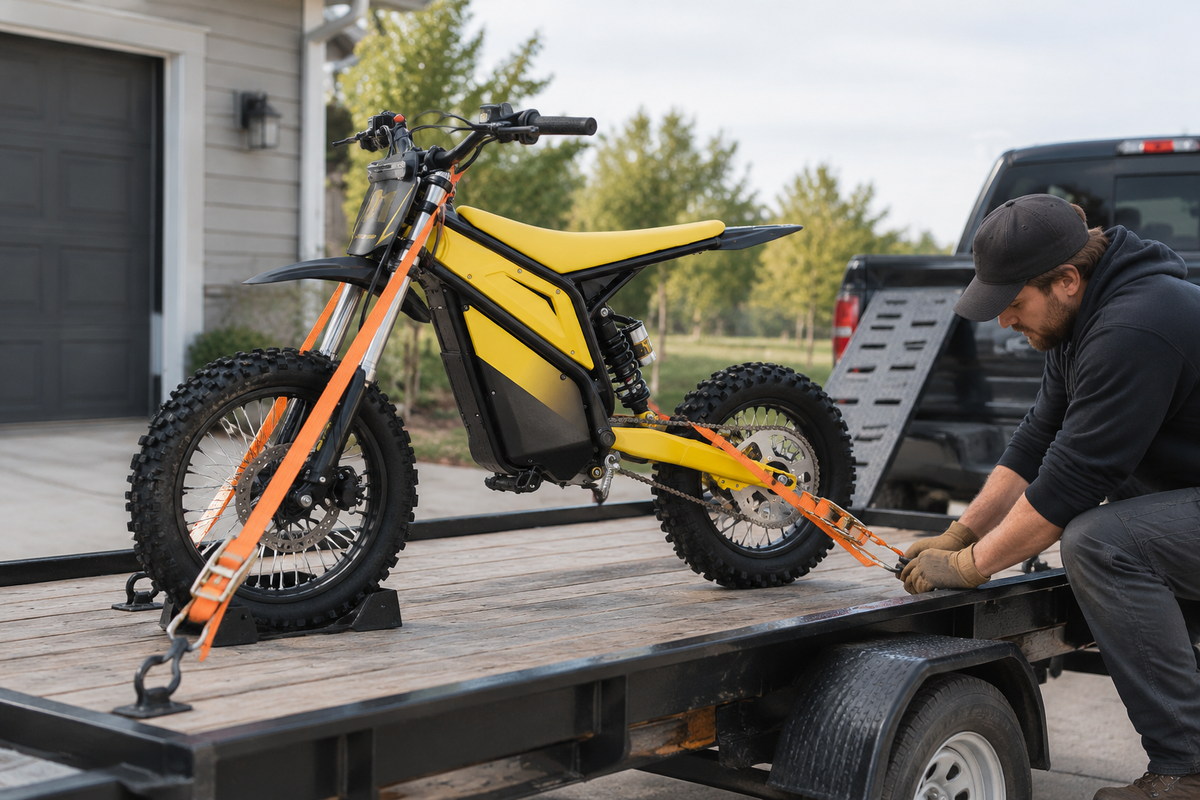

Transporting an electric dirt bike takes a compatible carrying setup, rated loading equipment, approved securement points, and a plan for checking the load. Start with the bike's weight and transport instructions, then check the truck, trailer, or carrier as a complete system. A bike that physically fits can still exceed a component's rating or be impossible to secure correctly.
Before loading: Confirm capacity, compatibility, attachment points, and battery instructions. If any of those answers is missing, resolve it before moving the bike onto the carrying vehicle.
Choose the transport method around the whole load
A truck bed, motorcycle trailer, and hitch carrier each have different limits. Compare the bike's documented transport weight with the relevant equipment ratings. Include other cargo, equipment, passengers, and the carrier itself where those loads apply to the vehicle or hitch calculation. Do not treat the largest number printed on one component as the capacity of the entire setup.
For example, a carrier's advertised capacity does not prove that a particular vehicle, receiver, adapter, and loaded carrier combination is acceptable. Check the vehicle and equipment manufacturers' compatibility instructions, including any restrictions associated with the carrier's position behind the vehicle. Ask the equipment supplier when the calculation or fit is uncertain.
If you are still choosing a bike, the adult electric dirt bike guide explains why storage and transport belong in the buying decision. For a bike you already own, use its actual configuration rather than the weight of a similar-looking model.
Make a compatibility sheet before buying equipment
Write down the values and instructions that determine the setup. A short sheet is easier to verify than a collection of screenshots from unrelated product listings.
| Item | Information to verify | Common mistake |
|---|---|---|
| Bike | Transport weight, dimensions, permitted position, approved securement locations. | Assuming a frame tube or handlebar is an approved attachment. |
| Carrying vehicle | Available load capacity and restrictions for the proposed installation. | Counting the bike while forgetting other occupants and cargo. |
| Trailer or carrier | Compatibility, load limits, installation, and inspection requirements. | Treating fit alone as proof of suitability. |
| Ramp | Rating and permitted use for the complete loading method. | Ignoring a person's weight when the ramp instructions require it. |
| Restraints and anchors | Working load limits, permitted direction of loading, condition, and attachment method. | Using breaking strength as the allowable working load. |
Obtain the loading and restraint manufacturers' current instructions. A photograph of someone else's truck is not evidence that its tie points, strap angles, or suspension compression suit your bike.
Prepare the loading area
Use a stable location with enough room to align the bike and ramp, work around the vehicle, and keep bystanders clear. Secure the carrying vehicle and install the ramp exactly as their instructions require. Check that the ramp's attachment cannot shift during the intended loading process.
Plan who will control each part of the operation. Arrange capable help before the bike is on the ramp; do not improvise assistance halfway through. If the loading method is beyond your experience, use a qualified motorcycle transport service or obtain practical instruction with the actual equipment.
Follow the bike's power-off and movement instructions. Do not assume that riding under power up a ramp is an acceptable loading method. A sudden control input or a shifting ramp can leave no recovery space. If alignment or control is lost, stop and reset the operation without putting anyone under the load.
Use the electric dirt bike maintenance checklist to record the bike's condition before loading. That record helps distinguish a pre-existing issue from damage discovered after travel, and avoids overlooking an unresolved fault when you reach the destination.
Use approved securement points and compatible restraints
Securement must restrain the bike as the equipment and bike manufacturers specify. Do not attach straps to brake lines, cables, body panels, controls, or an unverified component. Confirm how the front wheel is to be supported and whether a wheel chock or other fixture is required for the chosen system.
Follow the stated strap path, attachment method, tension, and suspension guidance. Too little restraint can allow movement; applying more tension without regard to the instructions can damage components. The correct answer is not simply to tighten every strap as far as possible.
Keep restraints clear of sharp edges, hot surfaces, moving parts, and vulnerable wiring. Secure loose strap ends as directed so they cannot reach wheels or road surfaces. A restraint with damaged webbing or hardware needs replacement according to its manufacturer's criteria, not a knot or makeshift repair.
Treat battery handling as a separate check
Whether the battery remains installed depends on the bike's transport instructions and the carrying arrangement. Do not remove it merely because another model has a removable pack. If removal is specified, follow the approved shutdown, removal, protection, and secure storage procedure for that battery.
Protect the battery and electrical connections from impact and weather as instructed. Keep the charger and accessories secured as cargo; do not leave them where they can strike the bike. A visibly damaged, leaking, unusually hot, or otherwise abnormal battery requires specialist direction before transport.
Transport by air, commercial shipment, and passenger carriage can have different battery rules. This loading checklist does not establish eligibility for those services. Resolve the applicable carrier requirements separately before booking.
Complete a departure inspection
- Verify that the bike sits in the required position and all restraints follow the approved arrangement.
- Check each attachment, anchor, and restraint for correct engagement and clearance.
- Secure the ramp, tools, charger, and other loose equipment.
- Confirm lights, registration markings, visibility, and vehicle operation are unobstructed.
- Walk around the complete setup and check applicable route and load requirements.
Recheck the load and plan unloading
Follow the restraint and carrier makers' instructions for rechecks during travel. Stop only where it is appropriate to inspect safely. If the bike shifts or a restraint loosens, correct the setup before continuing; adding a strap without understanding the movement may leave the underlying problem unresolved.
Inspect again before unloading. Establish how the bike will be supported before releasing the restraints, and follow the equipment's unloading sequence. Keep people out of the bike's potential fall path. Once unloaded, inspect the bike and complete the normal pre-ride checks before powering on.
If future trips require a different vehicle or carrying method, return to the compatibility sheet. A change of truck, trailer, carrier, or bike can change the answer even when the previous setup worked well. Verify the new combination before loading.
Share:
Electric Dirt Bike Brake Checks: Warning Signs and When to Stop
Best Sur Ron Alternatives Under $2,000 in 2026