 United States
 Canada
 Europe

 Canada
 Europe


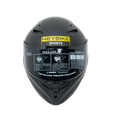
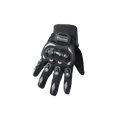
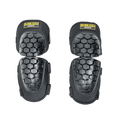
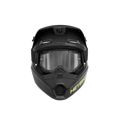

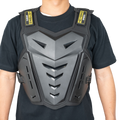
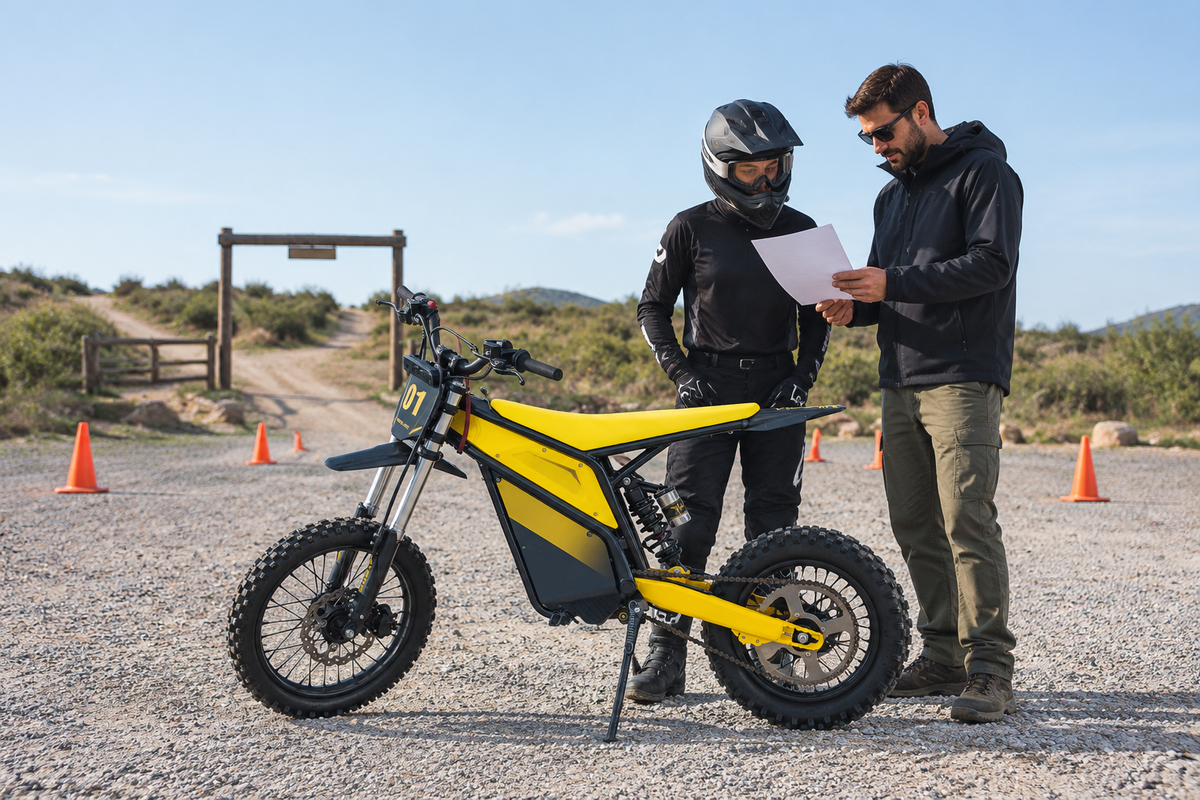
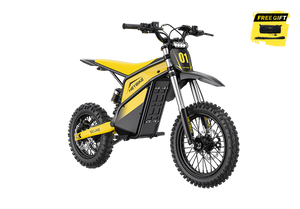
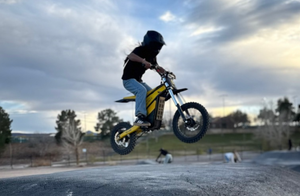
Your first electric dirt bike ride should begin before the bike is powered on. Confirm that assembly and setup are complete, understand the controls, inspect the bike, fit your protective equipment, and choose a permitted practice area. A short session with clear stopping points is more useful than a long first outing that introduces unfamiliar terrain and unfamiliar controls at the same time.
First-ride decision: Start only when the bike is ready, the rider understands its controls, and the site suits the session. A warning light, unexplained leak, uncertain assembly step, or unsuitable practice area is a reason to resolve the issue first.
Finish handover and assembly before ride day
A delivered bike is not necessarily ready to ride straight from the carton. Review the assembly instructions for the exact model and identify any tasks that require a qualified technician. Confirm that the required assembly checks were completed rather than assuming that parts which look installed have been adjusted correctly.
Keep the manual available and locate the sections covering rider requirements, controls, charging, inspection, and fault messages. Identify the front and rear brake controls from that manual. Do not transfer a control layout from a bicycle or another motorcycle without checking it.
The beginner's electric dirt bike guide explains the broader category. For the first session, however, the important document is the one that matches the bike in front of you, including its battery, charger, and supplied components.
Confirm the practice site and return plan
Choose an authorized area with enough clear space for the planned exercises and a surface appropriate for the rider's ability. Avoid making a busy shared trail the place where you learn what each control does. Check opening times, current conditions, vehicle eligibility, and any site-specific supervision or equipment rules.
An electric dirt bike is not automatically permitted wherever pedal-assist bicycles are allowed. Review the route-access and laws guide, then confirm your actual destination with its operator. Tell someone where you will be and make transport arrangements that do not depend on finishing an unfamiliar trail.
Walk the practice area first. Look for loose obstacles, holes, traffic entrances, soft edges, and people who might enter your stopping space. Decide where you will pause and how the session will end before starting it.
Work through a stationary bike check
Keep the bike powered off and supported as the manufacturer directs while inspecting it. Inspection means observing and checking within the owner's instructions; it does not mean dismantling unfamiliar systems.
| Check | What to establish | Resolve before riding if... |
|---|---|---|
| Tires and wheels | Condition, cold pressure, and wheel security match the applicable instructions. | A tire is damaged, loses pressure, or a wheel appears loose. |
| Brakes | Controls feel consistent; visible components have no obvious damage or leaks. | A control feels abnormal or braking performance is in doubt. |
| Steering and controls | Movement is unobstructed and cables do not snag during the specified checks. | A control binds or a line is trapped. |
| Battery and connections | The battery is secured as designed; accessible connections and charging port look normal. | There is damage, moisture intrusion, unusual heat, or a fault indication. |
| Chassis and drive | Required fasteners and visible drive components pass the manual's inspection. | Something is loose, damaged, or outside a specified limit. |
The Sports maintenance checklist helps turn these checks into an ongoing routine. Use your own bike's service specifications and inspect all the items its manual requires, including those not covered by this summary.
Fit equipment before powering on
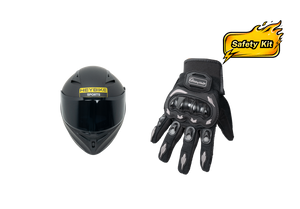
Use a properly fitted motorcycle helmet suitable for the activity, eye protection, gloves, protective clothing, and supportive riding footwear. Check the site's requirements as well as fit: a helmet that moves excessively or a boot that prevents comfortable control operation needs attention before the session.
Fasten straps and closures, remove loose items that could catch, and check that clothing allows the necessary movement. Keep phones, keys, and tools secured. Equipment should work together: goggles should fit with the helmet, and gloves should allow you to operate the controls without awkward stretching.
For general motorcycle equipment guidance, NHTSA's motorcycle page covers helmets and protective clothing. Its road-riding material does not establish off-highway access or replace instruction for this bike.
Rehearse the start and stop sequence
With a qualified instructor where appropriate, identify the power controls, normal shutdown method, and any emergency stop feature fitted to your model. Understand what makes the bike ready to move and how the display indicates that state. A silent bike may still be powered and ready for throttle input.
Review the available riding modes before selecting the one prescribed for the rider and exercise. A reduced setting does not make a bike suitable for every age, size, or skill level. Rider suitability still depends on the manufacturer's requirements and the person's ability to control the bike.
Keep the bike off while discussing the exercise or adjusting equipment. Do not allow a bystander to twist the throttle as a demonstration. When you are ready to begin, follow the manufacturer's startup sequence and check for normal indications.
Keep the first session deliberately simple
Agree on one exercise at a time with your instructor. Begin with the prescribed basics in the prepared area, and pause to reassess rather than adding distance merely because the bike is moving. Do not attempt a trail loop to diagnose a brake, control, or handling concern.
Stop the session if the rider becomes tired, the practice area becomes busy, conditions change, or the bike behaves unexpectedly. New noises, warnings, inconsistent controls, or visible damage call for inspection and resolution, not another lap to see whether they disappear.
Close the session with a useful record
After shutting down and parking correctly, note what felt unfamiliar and what needs adjustment by an appropriate person. Inspect for new damage or loosened items according to the manual. Record any warning exactly as displayed and keep photographs of relevant visible issues for support.
A productive first ride ends with a bike ready for its next inspection and a rider who understands what to practice next. The checklist is complete when the uncertainties are resolved, not when every box has been ticked quickly.
Share:
Electric Dirt Bike Trail Etiquette: Passing, Spacing, and Yielding Basics
Electric Dirt Bike Range in Cold Weather: Planning a Ride You Can Finish